
Write blog posts in Markdown
Set things up once, and from then on a new blog post is just a new text file. Astro makes the pages for you.
Tested on Astro 7.4
 By the Astro Nursery team. Review lead: Monika Singh, VP of Operations
Markdown is a simple way to write. Two stars make bold. A hash makes a heading. Astro can turn a folder of Markdown files into a blog. The folder is called a collection.
This is the longest lesson. Take it one step at a time. Every step has a “what you should see”.
Step 1: Write a post
Inside src, make a folder called content. Inside that, make a folder called posts. Inside that, make a file called hello-world.md. Paste this in:
---
title: Hello, world
date: 2026-11-06
---

This is my **first** blog post, written in Markdown.
The part at the top between the dashes holds facts about the post. The rest is the post.
Step 2: Tell Astro about the collection
Make a file called content.config.ts directly inside src. Not inside content. Directly inside src, next to the pages folder.
Paste this in:
import { defineCollection } from 'astro:content';
import { glob } from 'astro/loaders';
import { z } from 'astro/zod';

const posts = defineCollection({
  loader: glob({ base: './src/content/posts', pattern: '**/*.md' }),
  schema: z.object({
    title: z.string(),
    date: z.coerce.date(),
  }),
});

export const collections = { posts };
The loader says where your posts are. The schema is a checklist: every post must have a title and a date. If one is missing, Astro tells you which file, instead of showing a broken page.
Step 3: Make the blog list
Inside src/pages, make a folder called blog. Inside it, make index.astro:
---
import { getCollection } from 'astro:content';
import Layout from '../../layouts/Layout.astro';

const posts = (await getCollection('posts')).sort(
  (a, b) => b.data.date.valueOf() - a.data.date.valueOf(),
);
---
<Layout title="Blog">
  <h1>Blog</h1>
  <ul>
    {posts.map((post) => (
      <li><a href={`/blog/${post.id}/`}>{post.data.title}</a></li>
    ))}
  </ul>
</Layout>
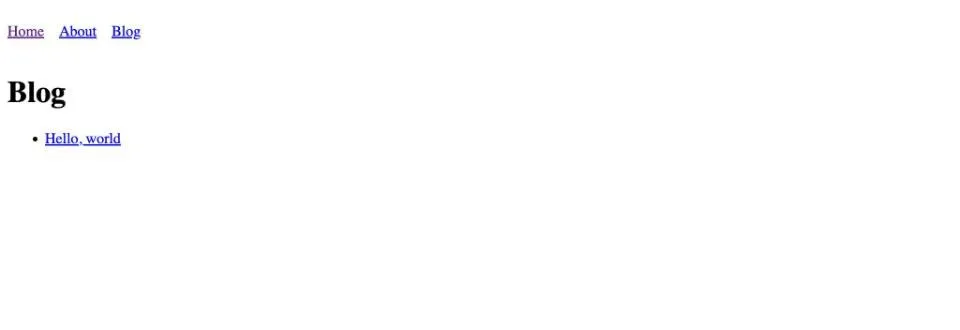
This fetches every post, puts the newest first, and prints a link for each one.
Step 4: Make a page for each post
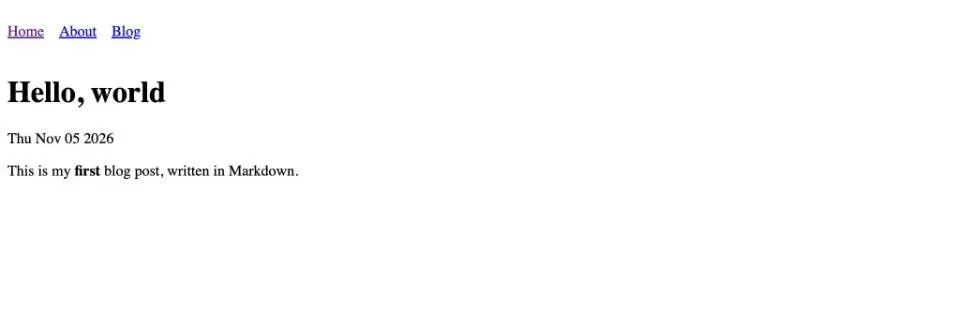
In the same blog folder, make a file called [id].astro. Yes, with the square brackets. They tell Astro “this one file makes many pages, one per post”.
---
import { getCollection, render } from 'astro:content';
import Layout from '../../layouts/Layout.astro';

export async function getStaticPaths() {
  const posts = await getCollection('posts');
  return posts.map((post) => ({
    params: { id: post.id },
    props: { post },
  }));
}

const { post } = Astro.props;
const { Content } = await render(post);
---
<Layout title={post.data.title}>
  <h1>{post.data.title}</h1>
  <p>{post.data.date.toDateString()}</p>
  <Content />
</Layout>
Step 5: Restart and look
Astro needs a fresh start to notice the new collection. Click in the terminal, hold Ctrl and press C. Then run npm run dev again.
What you just did
From now on, a new post is one new .md file in the posts folder. No other changes. Try it: copy hello-world.md, rename the copy, change the title, and save.
Finished lesson 5?
Mark it done to light its star, and we'll take you straight to lesson 6.